NEWS
Keep up to date with the latest industry insights

ARTICLE
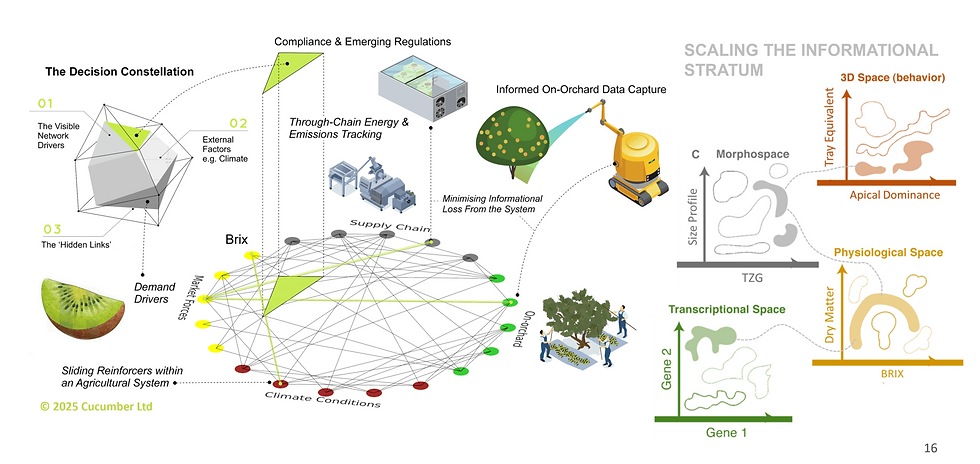
Harnessing systems thinking and data provenance for optimised data management within the primary industries
by Aaron Middleton, Chief Technology Officer, Cucumber
27 February 2025
In today's rapidly evolving primary industries, the balance of traceability, transparency, and data provenance is more crucial than ever. From orchards to farms and forests, managing vast datasets and capturing key informational insights can transform resource management and foster resilient food systems. By applying systems thinking and leveraging novel sensing technologies to mediate real-time feedback loops, stakeholders can enhance the health of ecosystems, optimise yield, and automate rigorous compliance within supply chains. Discover how integrated approaches and cutting-edge technologies are driving the future of primary industries, ensuring sustainable and secure food production for generations to come.


ARTICLE
Start with Why
by Mignon Olivier-Green
27 August 2024
Our CTO, Aaron Middleton and Head of Digital Advisory, Rob Bensley spoke at the 2024 CIO Summit on how understanding the ‘why’ behind innovation, collaboration, prototyping, and knowledge management is critical in driving value and fostering sustainable growth.


ARTICLE
AI, Search, SEO and Analytics
by Nick Baker, Digital Analyst, Cucumber
24 July 2024
How will Search change with AI, and how will your SEO strategies be impacted? This article provides valuable insights for content-rich websites, discussing emerging trends in search algorithms, and offers detailed methods to measure and analyze your AI-driven traffic effectively.


ARTICLE
Bespoke Software: Relic of the Past or a Strategic Advantage?
by Mignon Green
14 May 2024
When out-of-the-box solutions cannot fully address complex requirements, the appeal of tailored bespoke software persists. With the right development partner, the upfront investment in bespoke can pay dividends for the specialised functionality gained.


ARTICLE
The Data-Driven Revolution
by Mignon Green
20 March 2024
Industries are embracing the digital revolution - if they don't, they won't survive. Learn how data-led decision making can accelerate your business's digital growth journey. The digital era has ushered in a new paradigm, one where data reigns supreme.


ARTICLE
Overcoming the challenges of outdated legacy systems in the primary industry
by Mignon Green
14 September 2023
With global demand for sustainable food, energy, and fibre resources on the rise, there's a growing pressure to improve efficiency, reduce waste, and meet stringent regulatory standards, and yet, the tools of the trade have remained largely unchanged for decades.


